Unityでドット絵シェーダ その2

このコンテンツは、『ユニティちゃんライセンス』で提供されています
Unity5のフリー版が発表されましたね。
Unity4の無料版では使えなかったImageEffectが使えるようになっていますので、かなり表現の幅が広がったのではないかと思います。
というわけで前回のドット絵シェーダ(イメージエフェクト)を少し改良したのと、多少最適化を行ったので公開します。Unity5.0.0f4で実行しています。
基本は前回と同様ですが、パラメータをスクリプトから調整できるようにしたのと、
ドットの粒度をシェーダの変更なしで変えられるようにしました。
以下コード全文です。
DotImageEffect.cs(Cameraに追加するイメージエフェクトコンポーネントのスクリプト)
using UnityEngine;
using System.Collections;
using UnityStandardAssets.ImageEffects;

[ExecuteInEditMode]
[RequireComponent(typeof(Camera))]
[AddComponentMenu("Image Effects/DotImgeEffect")]
public class DotImageEffect : ImageEffectBase
{
    [Range(1,10)]
    public int Downsample = 3;  // 解像度を落とす回数+1。1回ごとに解像度を半分に落とす。

    [Range(0.001f,0.1f)]
    public float ValidDepthThreshold= 0.01f;  // 深度が近いドットを平均化するときの閾値

    [Range(0,5f)]
    public float EdgeLuminanceThreshold = 0.8f; // エッジ部と判定するための輝度差。この値以上離れていたらエッジとみなす。

    [Range(0, 1f)]
    public float SharpEdge = 0.5f;  // 平均化する際のコントラスト強調パラメータ


    void OnEnable()
    {
        // 深度の取得を有効にする
        GetComponent<Camera>().depthTextureMode |= DepthTextureMode.DepthNormals;
    }

    [ImageEffectOpaque]
    void OnRenderImage(RenderTexture source, RenderTexture destination)
    {
        material.SetFloat("_ValidDepthThreshold", ValidDepthThreshold);
        material.SetFloat("_EdgeLuminanceThreshold", EdgeLuminanceThreshold);
        material.SetFloat("_SharpEdge", SharpEdge);

        // RTのAチャンネルに、深度*(1-α)を格納する。
        // 深度*(1-α)は優先度として作用する。
        var RT = RenderTexture.GetTemporary(Screen.width, Screen.height, 0, RenderTextureFormat.ARGBHalf);
        RT.filterMode = FilterMode.Point;
        Graphics.Blit(source, RT,material,0);

        // 1回毎に解像度を半分に落としドット化する
        for (int i = 1; i < Downsample; i++)
        {
            material.SetVector("_PixelSize", new Vector4(1.0f / RT.width, 1.0f / RT.height, 0, 0));
            var RT2 = RenderTexture.GetTemporary(RT.width / 2, RT.height / 2, 0, RenderTextureFormat.ARGBHalf);
            RT2.filterMode = FilterMode.Point;

            // ドット絵変換
            Graphics.Blit(RT, RT2, material, 1);

            // 描画先と描画元を交換
            RenderTexture.ReleaseTemporary(RT);
            RT = RT2;
        }

        Graphics.Blit(RT, destination);
        RenderTexture.ReleaseTemporary(RT);
    }

}
DotImageEffectShader.shader(上記スクリプトのShaderに入れるシェーダ)
Shader "Hidden/DotImageEffectShader"
{
	Properties{
		_MainTex("", 2D) = "" {}
	}
		SubShader{
		ZTest Always
		ZWrite Off
		Cull Off
		Fog{ Mode Off }


		Pass{

			CGPROGRAM
#pragma vertex vert
#pragma fragment frag
#pragma target 5.0
#pragma fragmentoption ARB_precision_hint_fastest
#include "UnityCG.cginc"

			struct v2f
			{
				float4 pos : SV_POSITION;
				float2 uv : TEXCOORD0;
			};

			sampler2D _CameraDepthNormalsTexture;
			sampler2D _MainTex;
			float4 _MainTex_ST;

			v2f vert(appdata_img v)
			{
				v2f o;
				o.pos = mul(UNITY_MATRIX_MVP, v.vertex);
				o.uv = TRANSFORM_TEX(v.texcoord, _MainTex);
				return o;
			}

			float GetDepth(half2 uv)
			{
				float4 depthnormal = tex2D(_CameraDepthNormalsTexture, uv);
				float3 viewNorm;
				float depth;
				DecodeDepthNormal(depthnormal, depth, viewNorm);
				return depth;
			}

			half4 frag(v2f i) : SV_Target
			{
				half4 centerCol = tex2D(_MainTex, i.uv);
				centerCol.a = (1-centerCol.a) * GetDepth(i.uv);
				return centerCol;
			}
				ENDCG
		} // pass0

		Pass{

			CGPROGRAM
#pragma vertex vert
#pragma fragment frag
#pragma target 5.0
#pragma fragmentoption ARB_precision_hint_fastest
#include "UnityCG.cginc"


			struct v2f
			{
				float4 pos : SV_POSITION;
				float2 uv : TEXCOORD0;
			};

			sampler2D _MainTex;
			float4 _MainTex_ST;

			uniform float4 _PixelSize;
			uniform float _ValidDepthThreshold;
			uniform float _EdgeLuminanceThreshold;
			uniform float _SharpEdge;


			v2f vert(appdata_img v)
			{
				v2f o;
				o.pos = mul(UNITY_MATRIX_MVP, v.vertex);
				o.uv = TRANSFORM_TEX(v.texcoord, _MainTex);
				return o;
			}

			half4 frag(v2f i) : SV_Target
			{
				half4 centerCol = tex2D(_MainTex, i.uv);
				half4 nearCol;
				float4 cols[4];


				i.uv -= 0.5 * _PixelSize.xy;

				// minDepth Detection
				float minDepth = 9999;

				for (int x = 0; x < 2; x++)
				{
					for (int y = 0; y < 2; y++)
					{
						float2 uv2 = i.uv + _PixelSize.xy * float2(x, y);
						float4 c = tex2D(_MainTex, uv2);
						cols[y * 2 + x] = c;

						if (minDepth > c.a)
						{
							minDepth = c.a;
							nearCol = c;
						}
					}
				}

				float4 col = 0;
				float weights = 0;
				float minLum = 9999;
				float maxLum = 0;

				for (int j = 0; j < 4; j++)
				{
					half depth = cols[j].a;

					// 有効ピクセルのみ処理する
					if (abs(depth - minDepth) < _ValidDepthThreshold)
					{
						float Lum = Luminance(cols[j].rgb);
						float weight = pow(Lum - 0.5, 2) * 4;	// 白と黒を強調する
						weight = lerp(1, weight, _SharpEdge);

						col += cols[j] * weight;
						weights += weight;

						minLum = min(minLum, Lum);
						maxLum = max(maxLum, Lum);
					}
				}
				col /= weights;


				// 輝度差が大きい場合は平均化を行わない
				if (maxLum - minLum > _EdgeLuminanceThreshold)
				{
					col = nearCol;
				}

				return col;
			}
				ENDCG
		} // pass1
	}
}
パス0ではRGB+深度のテクスチャを生成しています。
(後のパスで色と深度を別々にフェッチする必要がなくなります。ただ深度とHDRのためにピクセルのフォーマットをHalfにしています。)
またその際に(1-α)値を深度値に乗算することで、α値が1に近いほど優先度が高く(深度が0=手前に近付く)なるよう、マテリアル側で調整できるようにしました。
また、エッジ検出(EdgeDetection)のイメージエフェクトで生成されるエッジの優先度も高くしたいので、
EdgeDetectNormals.shaderの、fragRobert関数内の250行あたり以降に
	float4 col = tex2D(_MainTex, i.uv[0]);
	col.a *= lerp(1, _BgColor.a, edge);
	col.rgb *= lerp(_BgColor.rgb, 1, edge);
	return col;
を挿入して、
- 線の色を背景色(Background OptionsのColor)で変えられるように。
- α値を、エッジ部はそのままに、そうでない部分を背景色のα値と乗算して優先度を低く。
するように改変しました。
ModeがRoberts Cross Depth Normalsの時のみ有効です。
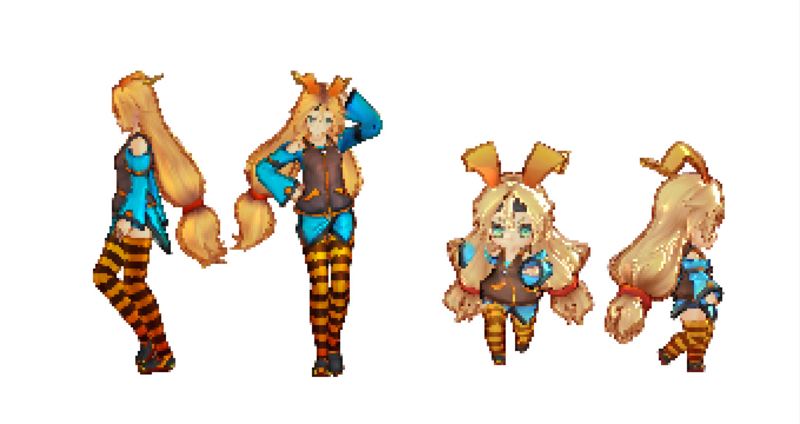
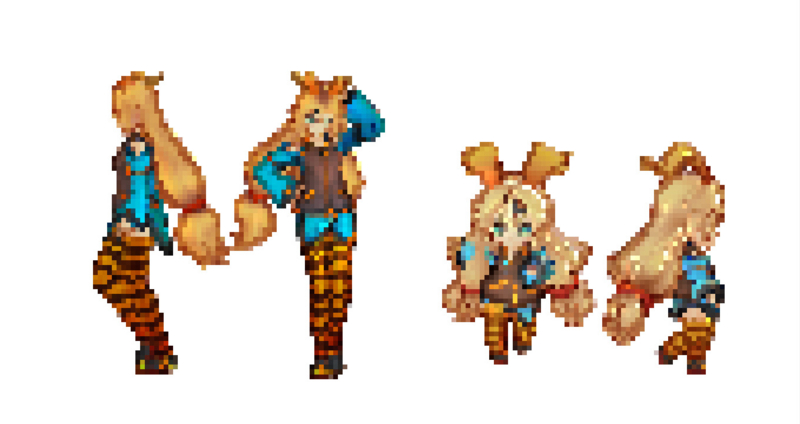
使用例
目のマテリアルと隣接している、肌マテリアルのアルファ値を下げて、目が優先的に選ばれるようにしています。
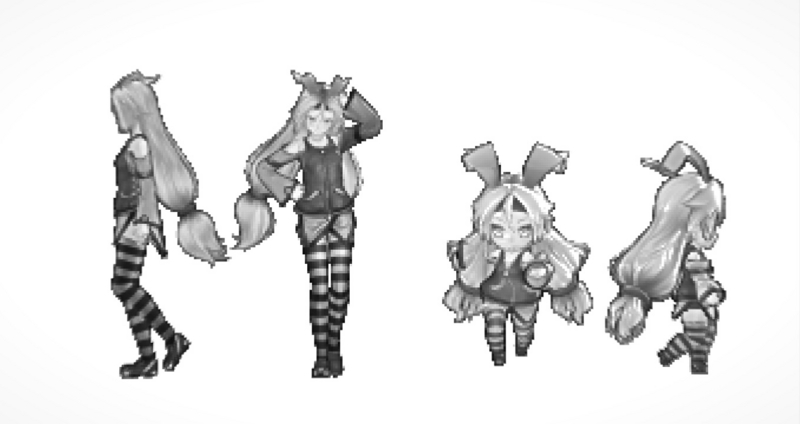
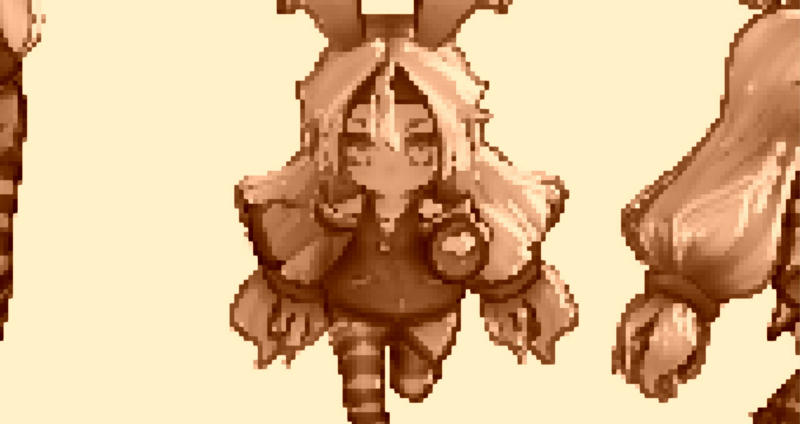
セピアやモノクロは標準のイメージエフェクトを使っています。


ソースコードについて
商用にでもなんでも使ってください。
アセットストアで売られててもムカつくだけで何もしません。